To ensure the continued performance and safety of your aircraft exhaust parts and to prevent disasters such as carbon monoxide poisoning, loss of engine power, or fire, it is critical to perform thorough inspections on a regular basis. In this checklist, we'll walk through some key inspection steps to help you effectively ensure your parts are in good, functional condition every time you take to the skies.
Remove Shrouds and Shields
First, remove all muffler and stack shrouds and shields to permit full inspection.
01.
Look for Leaks
Examine the surfaces adjacent to the exhaust system components for telltale signs of exhaust soot. These will reflect leakage points.
Look for gray, red, or black stains at the welds, clamps, flanges, and so on.
Verify that no part of the system is being chafed by the cowling, cables, or other parts. Check the area of the heater for any signs of leaks, as well.
02.
Check for Loose Connections
Check for loose connections or binding of slip joints.
03.
Check for Internal Erosion
Examine any bends and narrow spots for thinning and pitting.
04.
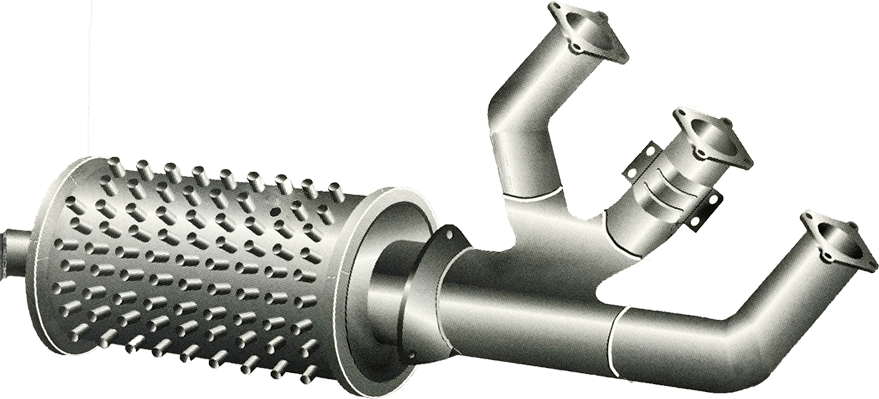
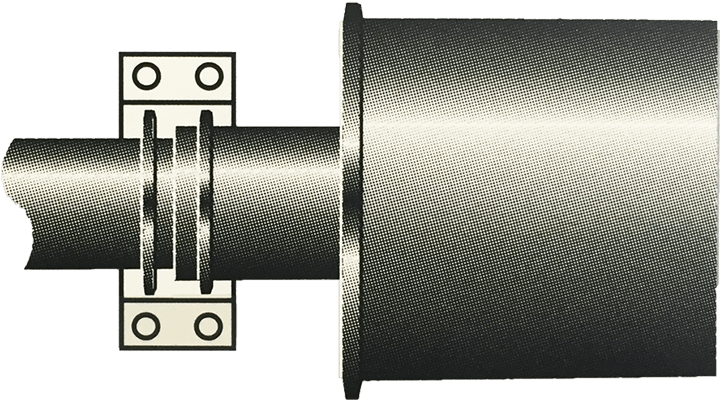
Pins and Fins
Look for any missing or damaged heat transfer pins or fins, as these can create holes in the exhaust.
01
02
03
04
Tip:
To verify a suspected leak, connect the exhaust outlet of a vacuum cleaner to the tailpipe. Seal around the vacuum hose with duct tape and apply soapy water or talcum powder.
Check for Metal Fatigue
05.
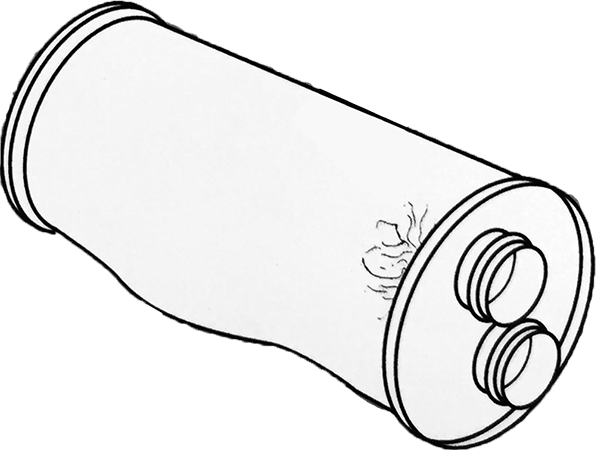
Inspect all surfaces for bulging and distortion
06.
Inspect all surfaces for patches of small cracks
Tip:
Do not mark any surfaces with lead pencils or carbon-containing markers, as this will cause cracks.
05
06
07.
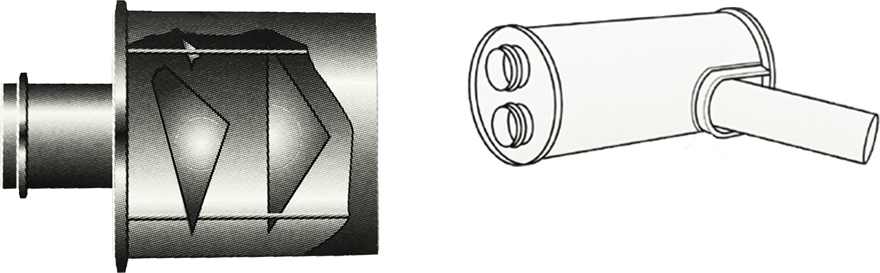
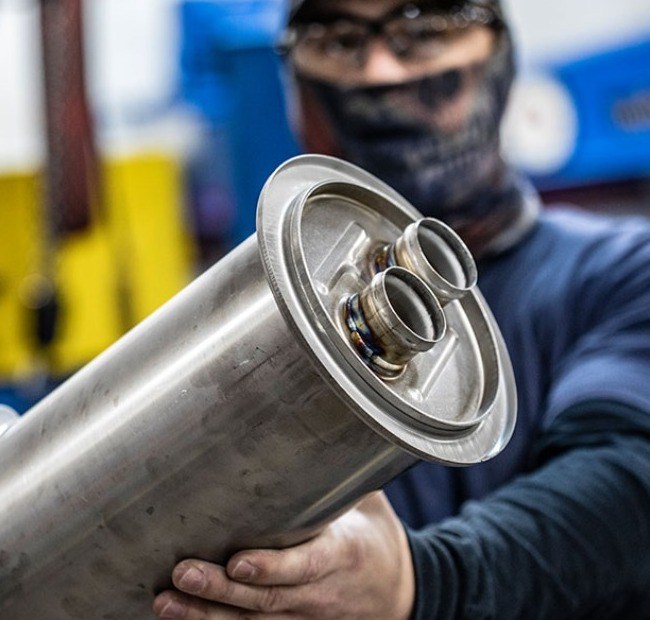
Check for Baffle Breakdown
Look inside the mufflers for broken baffles and tubes. These can restrict the outlet and cause power loss.
08.
Check for Hidden Damage
Carefully inspect all internal surfaces that lie hidden under external gussets or stiffeners. Check for cracked or broken spot welds.
Approximately one-half of all exhaust system failures are traced to cracks or ruptures in the heat exchanger surfaces used for cabin and carburetor air heat sources.
The failures are, for the most part, attributed to thermal and vibration fatigue cracking in the areas of stress concentration.
Tip:
Run a borescope into the tailpipe or overboard to inspect internal conditions.
07
08
09.
Installation Tips
Only install correct parts and never force-fit. Do not reuse gaskets. Properly align connecting parts.
Tighten nuts evenly to the proper torque value (per OEM specifications).
09
.png)


.png)
Have Questions?
When in Doubt, Call the Industry's Best
If you ever have uncertainties about the airworthiness of an aircraft exhaust part, call a Nicrocraft™ exhaust system specialist at +1 405-672-1361.
Do not attempt to weld-repair damaged parts. It is always best to replace with new parts.
Reliable & Trusted
The Industry's Longest Warranty
All Nicrocraft™ parts are covered by our 12-month, unlimited-hours warranty against defects in material and workmanship under conditions of ordinary use and service. Unlike others in the industry, coverage begins from date of installation – not date of purchase. Register your parts today to start taking advantage of the industry's longest warranty.